

After purchasing the External Images Plugin, you will receive a zipped file, from there, please follow these steps:
In your WP admin area, click on “Plugins” -> Add new -> Upload Plugin -> Choose file. From there you can select the zipped file you selected and install the Plugin. Once install, click the Activate button.
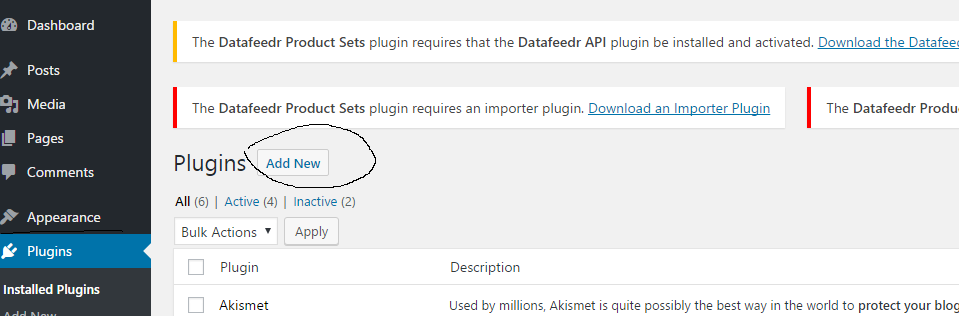
Table of Contents
After Activation
Activating this plugin forces WordPress to read images from the external_image_url custom meta field and map that field into an internal array (stored in _external_image_url – note the underscore prefix for array version).
The external_image_url custom meta field can contain one or many image URLs for images stored anywhere – they can be CDN images from affiliate networks, or your own images stored on Amazon S3 – it doesn’t matter. They can even be local if you wish and you’ll still at least gain the benefit of avoiding WordPress creating multiple sizes for all your images.
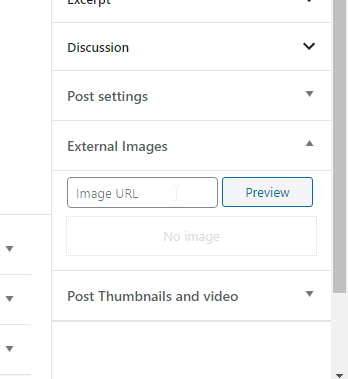
To set an external URL, edit any of your posts or products and find the ‘External Images’ section. You will find a field that you can populate. Once you populate it with the URL of an image and save the product/post, then that image will be used as the featured image.
Setting Gallery Images
Any post types which declare support for galleries can also be handled with External Images. On compatible posts (e.g. WooCommerce products) you’ll find a section called External Images Gallery. Here you can add multiple images.
Importing Images
If you need to import images, you should import them to the custom meta field external_image_url. If you import multiple images, separate them by pipe symbol. The pipe symbol was chosen because many images can actually contain commas. You can also use commas if you wish, but we highly recommend you separate your imported images by the | pipe symbol.
Read our KB on setting up imports
SSL & HTTPS considerations
If you have a site using https and you provide an image url which is only http, the External Images plugin will test if it’s possible to load that image using https to avoid breaking the SSL padlock.
If it is possible, External Images remembers this fact for that image domain, and will always switch images over to https in future for that domain.
If it is not possible, External Images remembers this too and will proxy all these http images through your own server – that means it temporarily downloads the image to your server then displays it to the user, so to the user it looks like it came from your site.
We recommend you just ensure all images are https, as this will reduce load on your server. If you cannot, then External Images will do everything it can to display the image through https without braking your SSL padlock in your users browser.
There is a config section on the settings page where you can configure which third-party image CDNs you are using support https – ones without a tick will be proxied through your own HTTPS SSL.
SEO Considerations
External Images alters your meta tags so that sites like Twitter, Facebook, Google etc will pull the preview image from your external featured image.


